A sad truth, but too many motors have an untimely ending due to a failed capacitor. More often than not, when a single-phase electric motor becomes sluggish in start up, or will not start, the diagnosis is "motors stuffed, get a new one!" To those who are none-the-wiser, this seems like the only option.
However, performing a simple test on the capacitor would often save time and money in purchasing and replacing the motor unnecessarily.
Following are simple steps on how to test a capacitor and save yourself time and money.
How to test a Motor Start or Run Capacitor
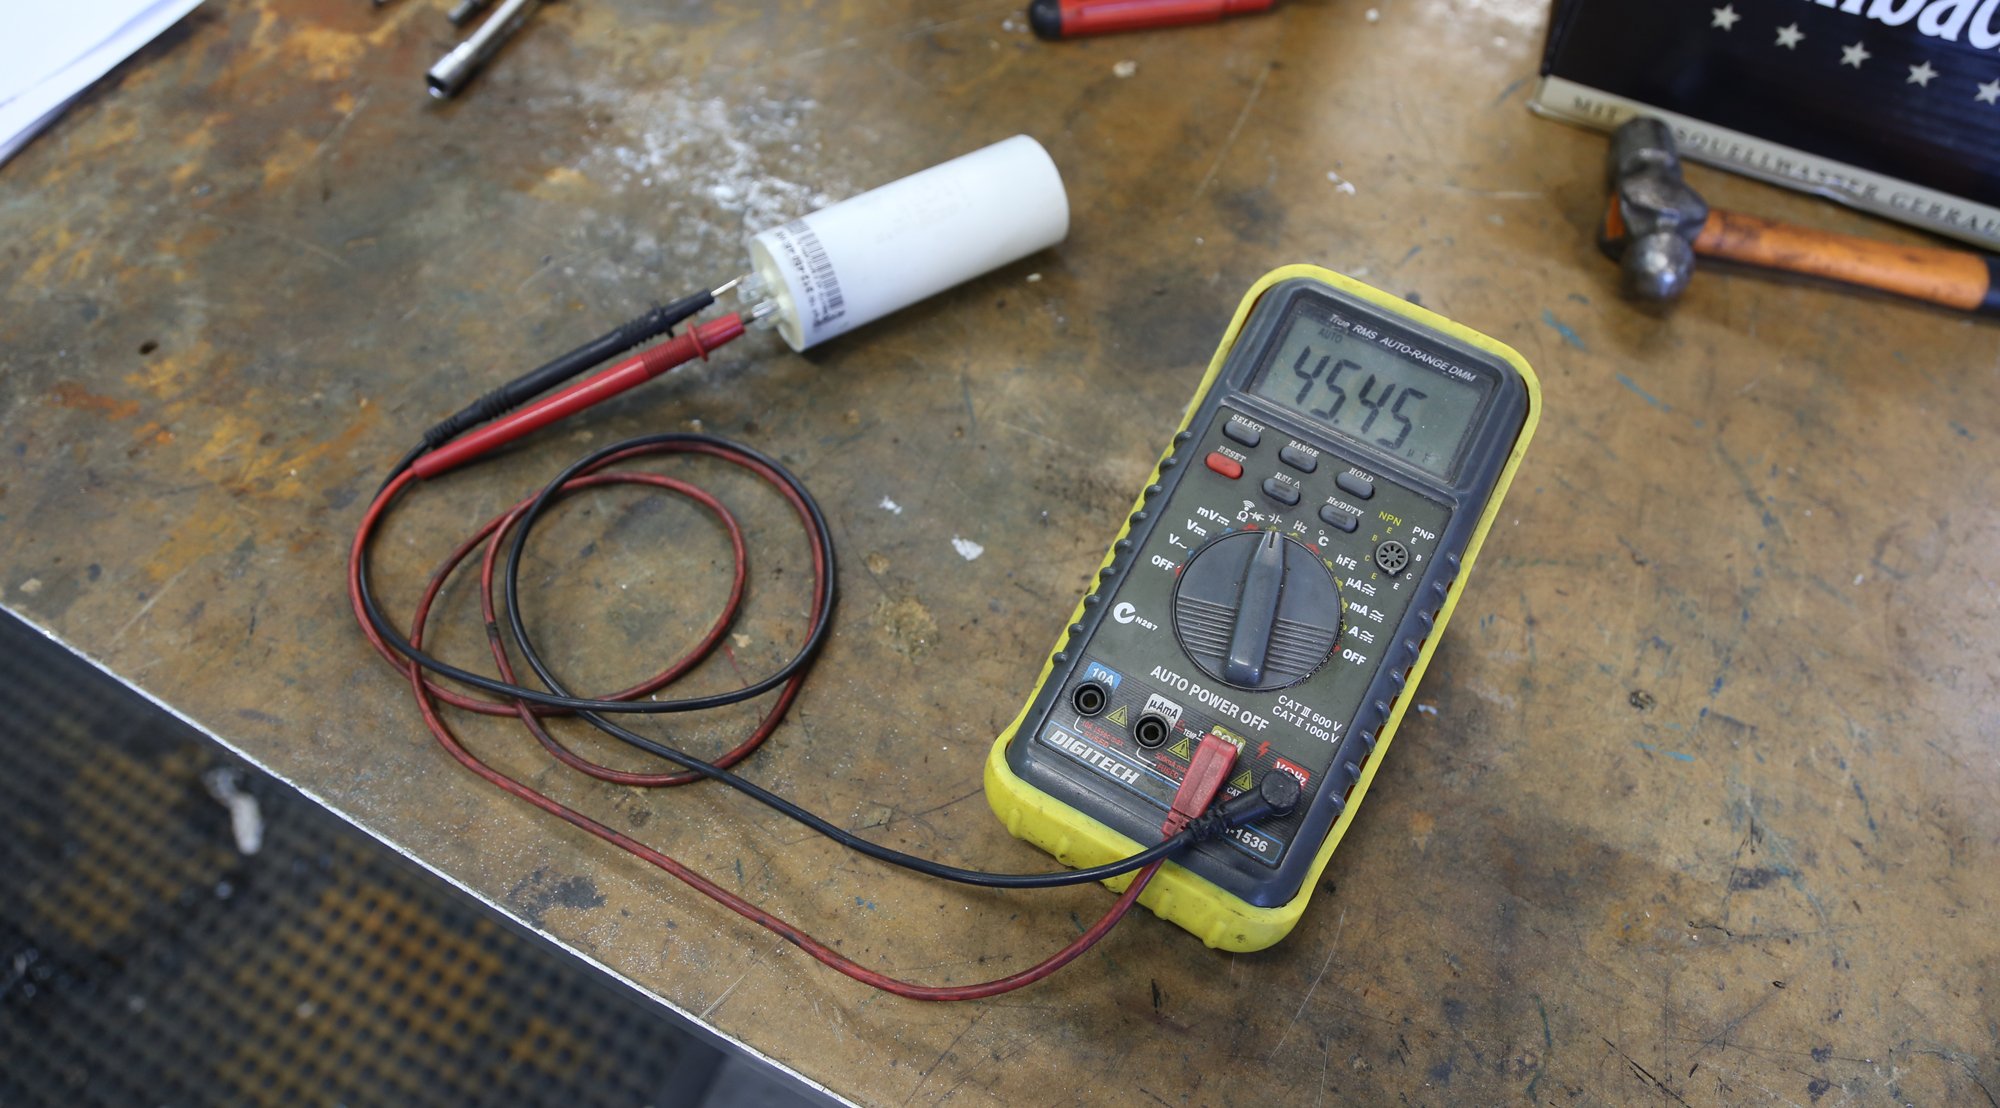
1. Ensure your multimeter has Capacitance Testing Mode, usually shown as two vertical white lines like this -||- Set selection dial to this mode. Ensure the red lead is plugged into the "COM" port and the black lead is plugged into the "mAVΩ" port. See more on how to use a multimeter here.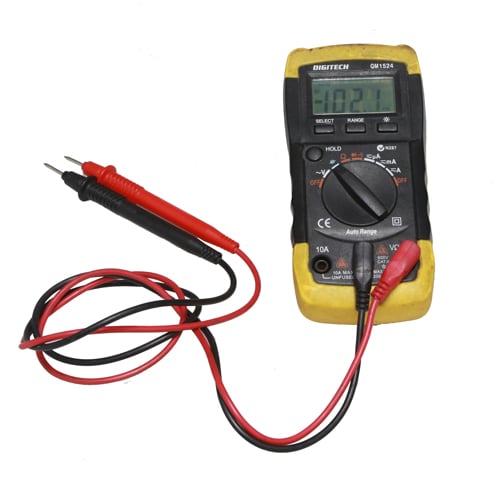
2. Remove the capacitor from the motor. This must be completed by a registered electrician only.
3. Touch and hold the multimeter test prongs onto either lead or terminal (multimeter may take 5-10 seconds for reading to stabilise down) The reading value will show the capacitor value. Replace the capacitor if this value is +/- 5% of the value shown.
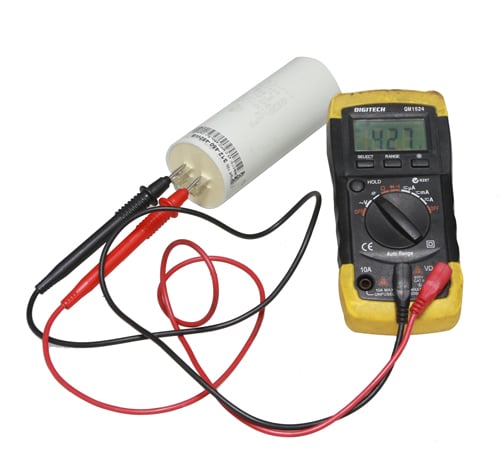 4. Note: A motor start capacitor will have a higher microfarad (uf) value than a run capacitor, and not all multimeters can test these. The multimeter may finally show zero or 'OL' value in this case, but the capacitor may still be within range.
5. If the multimeter shows a different value from capacitor rating or shows signs of heat and or physical damage, it must be replaced to ensure correct motor operation. Also replace the capacitor if there is any oily substance present on the terminal.
Please view start capacitors here or run capacitors here or contact Argon Distributors for a replacement.